Friday 27 April 2012


Joists and flooring:
hand tools used were hammer hazards of a hammer can be swinging it around or hitting fingers, measuring tape sagging, combination square rust and cuts, carpenters pencil lend poisoning , glue gun could get into eyes causing tear eyed or could burn your skin, nail punches could spark and get in eyes.
power tools used were radial arm saw hazards is loose clthing and cutting hands off, nail gun could miss and go through foot, circular saw cutting fingers off.
safety equipment were safety glasses hazards are if you dont use these you could end up being blind and ear muffs could cause deafness if you dont use them.
pictures of joists being put on by the class..


pictures of close up joists being put on by the class..
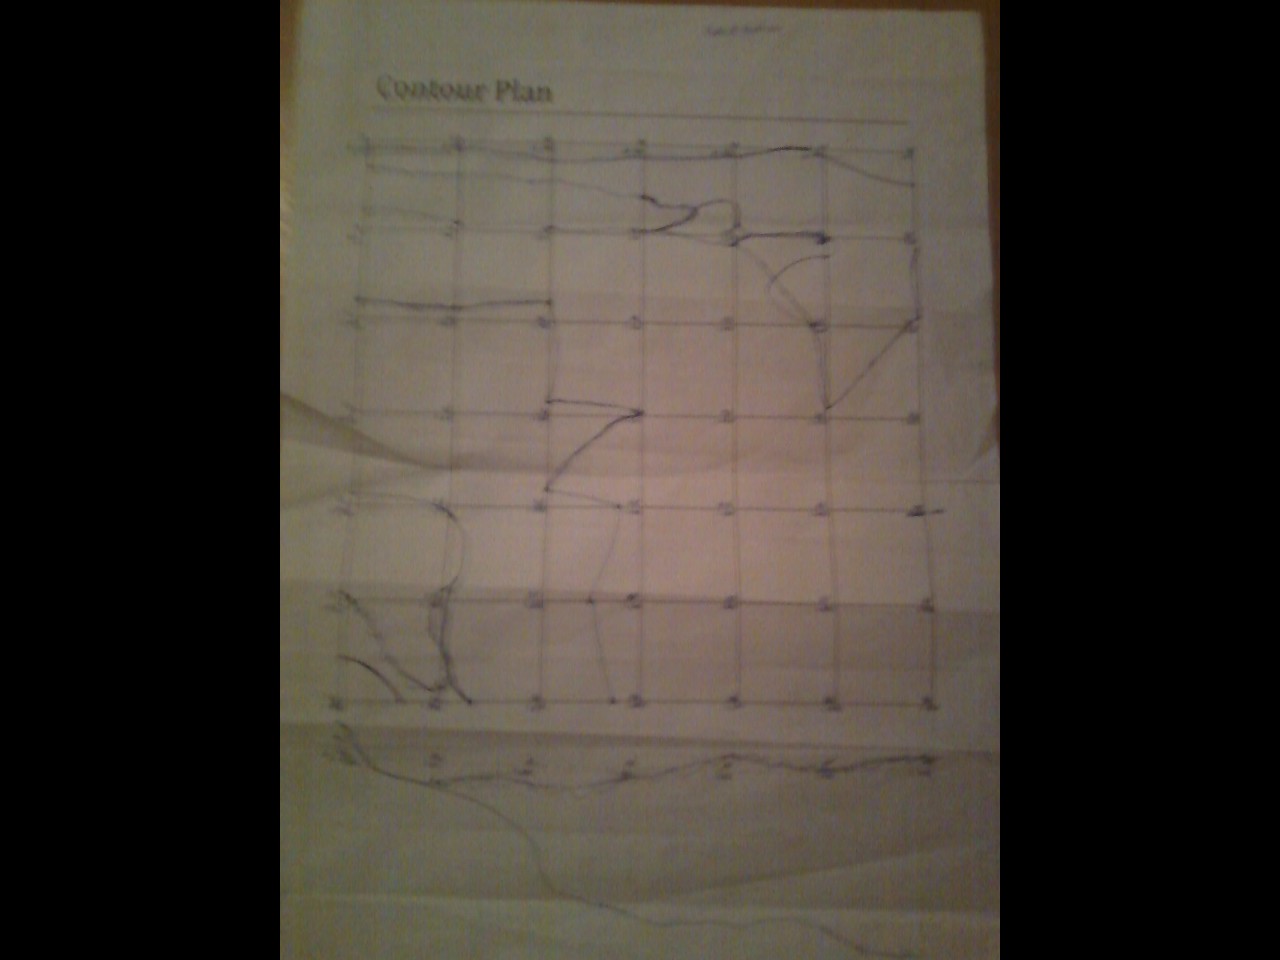


plan for subfloor


diagram of floor joists to the bearer supports and subfloor joists to line..

number of joists is 450 centred..
calculations of joists are 15.500 devided by 450= 34.4 joists or 35 or 36
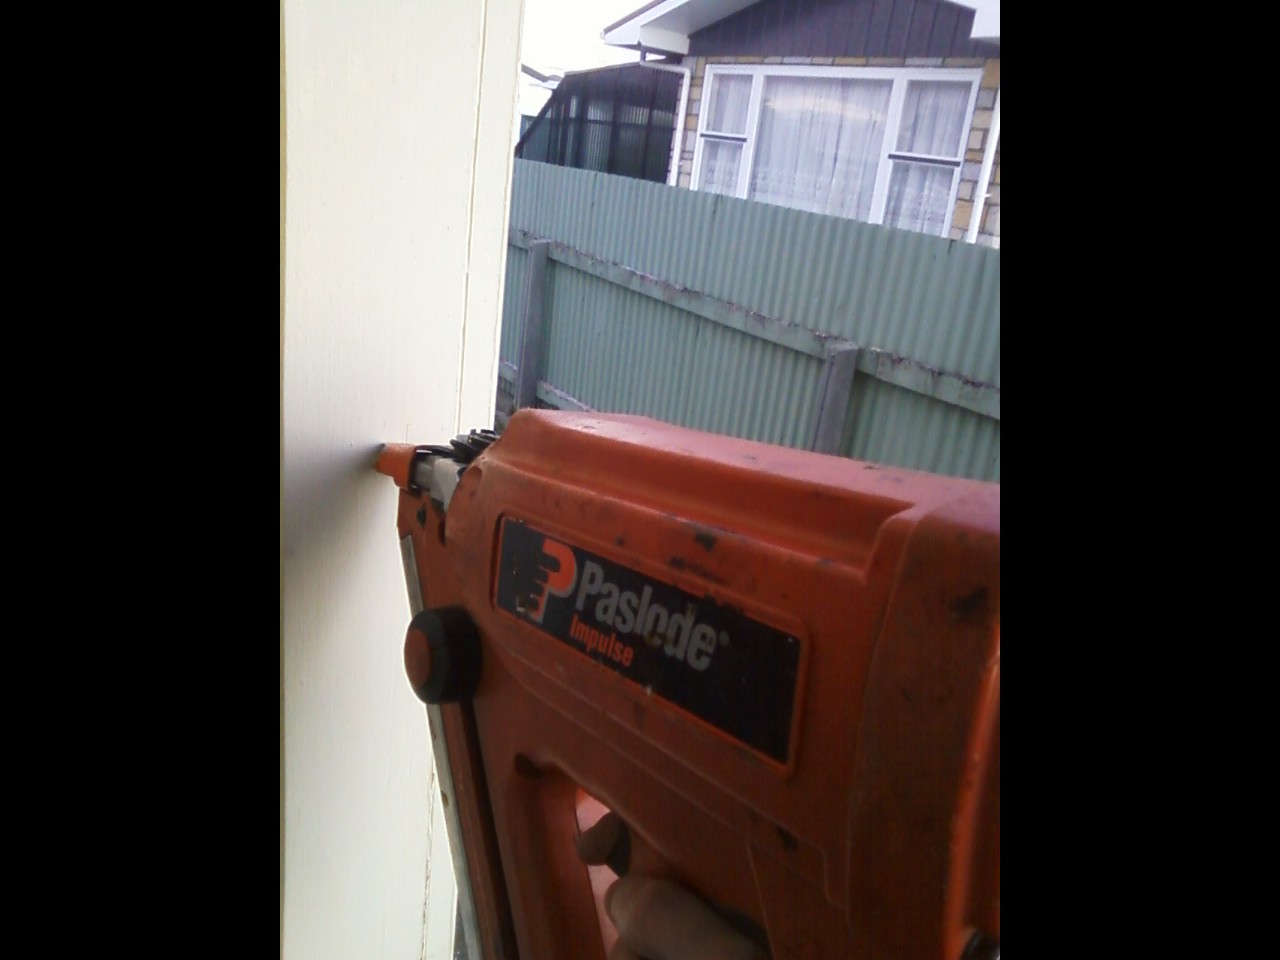
nail gun

nail gun

subfloor

plan of subfloor

plan of subfloor

subfloor

putting sheet of sub flooring down


the calculations for the ply flooring:
EcoPly=13.11 devided by 2.88=4.6=5
6-9 EcoPly 13.11
1.9.
EcoPly:
length= 2.4
width= 1.2.
 total=2.88m squared

the houses length is 15.500m
the width of the house is 7.2m

the calculations for the chipfloor or strandfloor:
Strandfloor= (111.6-13.11) devided by 4.32= 27.8= 28
111.6m squared.

Strandfloor H3.1:
length= 3.6
width= 1.2
total= 4.32m squared
trimmer joists

trimmer joists

trimmer joists
adhesive glue gorilla glue MSD

adhesive glue gorilla glue MSD
Safety requirements: gorilla glue
may cause mild eye irration. Symptoms include stinging, tearing and redness..
put glue on flooring joists then carefully put floor board down..

flooring


the radial arm saw matt showed me how too use it safely and also asked what the hazards were i told him that having your hand close too the saw could cause yourself too cut it off..
lose clothing could cause it too jam and drag you in with the saw..
flying objects, hearing lose or blindness..

we checked that the saw had no damages on it that the guards were on tight too use..
when using the saw you pull it towards you never let go of it because then you could cause damage too the timber or flying objects could be caused with it..

alwaes make sure that there is no one round you because you could cause them harm and too yourself as well..
radial arm saw..
diagram of an radial arm saw..
another diagram of radial arm saw..
picture of radial arm saw..
Piles:
the hand tools we used was measuring tape hazards are sagging or could snap, hammer swinging round, carpenters pencil lead poisoning and combination square rust and cuts, builders level for levelling, builders rule for taking measurements.
the power tools we used for pile was radial arm saw hazards are loose clothing and could cut hand off, dynadrill for drill holes for sole plates could jam, bolt machine too bolt the sole plates too the ground could catch fire, nail gun for the pile could miss and cause injures, air compresser.
safety equipment we used was safety glasses hazards are if you dont use these you could cause yourself to be blind and ear muffs deafness if you dont wear these.
this is a picture of the sole plates and joists and piles..theres also
the temporary piles too keep it stablised and plumb NZS 3604 timber
treatment.. 
when matt the tutor for our course showed me how too use the radial arm saw safely i forgot too take pictures bit matt asked me what the hazards of the saw was so i told him when hand is too close too the blade it could cut your hand off, and also wearing no ear muffs could cause damage too your hearing, wearing no safety glasses could cause damage too your eye site and flying objects could happen while using the saw in the process, loose clothing could jam the machine or pull you into it causing serious damage too yourself.

the guards were on there was no damage so it was safe, matt showed me the on/off buttons and the main power button too turn off in an emergency when and if needed too.

when using the radial arm saw you must alwaes wear safety glasses and ear muffs or ear plugs at all times before and while operating the machine.

this is a diagram of a radial arm saw off google because i didnt take any pictures at course..

this is a full diagram off a radial arm saw..
another picture of an radial arm saw

radial arm saw
    The calculation for the piles are:In and Over calculations running measurements...
7200mm x 90mm= 7110mm
7110 devided by 3=2370
thats the bearers contexs
8 piles @ 2195 centres 300 deep

-Anchor piles and cantilever piles which resist lateral loads with no diagonal bracing.
-Braced piles which are restrained with diagonal braces.
-Ordinary piles which carry gravity loads only.


subfloor bracing method as per NZS 3604, section 5. also explain bracing for subfloor..

  What a bearer and stringer are, and their purposes...
-A stringer is a horizontal piece of framming timber fixed to the side of concrete, masonry cladding to support the ends of the joists.
-A bearer can be a solid piece of timber or laminated timber that is attached to the pile to evenly distribute the verticle loads [plus how it is braced to also take horizontal loads: example wind and or earth quakes] must be treated wood [H1.2] by radiata pine/also must be of a set structural grade.

How stringers are attached as per NZS 3604 Section 6
- bent M12mm bolt with a minimum of 100mm into the concrete DPC [damp prove course] between the concrete and timber/bolt centred with a 50 x 50 x 3mm washer [all fittings must be hot dipped galvanised] spacing specified by the NZS 3604 [section 6 table 6.7].

put subfoor on top of the bearers and top sole plates to prvent dampness too subfloor less damage would be caused in the long run..


subfloor..

subfloor..


half done sole plates..

bolt machine..

picture of dynadrill..

100mm bolts for the sole plates..

this picture is the sole plate after being bolted in..

putting bearers on..

sole plate bolt down in concrete with the bearers nailed..
                           
Spot levels and Contours:        
tools used:
builders level could cause too get the wrong measurements, bulders rule, string ling could cut circulation.          


a drawing of a straightline cross section contour graph
this picture is the builders tripod its used for the builders level for taking measurements..
this picture shows the builders level that i got off the builders level blog.. and the picture at the bottom is a laser level..
this is a contour plan.
this picture is the theodolite that i got off the theodolite blog..
this is the the calculations of the feeild book and the totals all add up the same which is 06.08


the differences between the theodolite and the builders level is:
- The builders level is used for shooting heights and gets measurements from a builders rule and its important to make sure the bubble is in the centre.
-The theodolite is used for measurements for both horizontal and verticle angles.
- how too set up a three screw builders level:
set up tripod
sit the level up on top of the tripod the screw it on
then use the three screws too put the bubble in the centre.
this picture is of google its a stadia line of a builders level..
SITE SET OUT:
Tools used for these tasks were a sledge hammer for the pegs hazards  are swinging round could injure yourself and other workers, builders hammer used for nailing profiles up swinging round, builders rule and the builders level to take the measurements wrong measurements if you dont know how to use it and string line to finish the job cut circulation..

the profile is stable,plumb,level and is at correct height of datum and is positioned for squareness and its got good boundary lines..
this is the peg its positioned at the right size and shaped and is plumb in the ground..


the string line is set out accurately and we used pythagorus theorem to make sure it is square and we used the spirit level to check that it is level..


string line is tight and also set for squareness..


this is a straightline cross section contour graph..
these are the calculations for the difference for back site and fore site, difference for the rise and fall and difference for the reduced level. they all add up too the same totals.

this is a graph of the contour plan for the building site..
this is the pythagoras theorem used to work out the diagonal length.

this is the calculations of the pythagoras theorem used to work out the diagonal length..

when setting up profiles you have to check measurements are right and that the pegs are plumb and when putting on profiles you need to check with spirit level to make sure its alwaes straight and level because they are important when your doing the foundation of a house.. when setting out the building you need to make sure everything is accurate and straight because if you do not you will stuff up the house later in the process.
water level

water level

laser level

laser level

the laser level shoots a thin beam of red laser that can be either a rotating beam or a constant beam that is set to scan a selected operational arc..
- Erect hazard warning signs when laser level is in use..

the water level can be used as a back up if you are in an isolated situation and your laser level and batteries go flat.
It is also used by house levelling companies under floors where it is differcult to set and take readings from conventional levelling equipment..